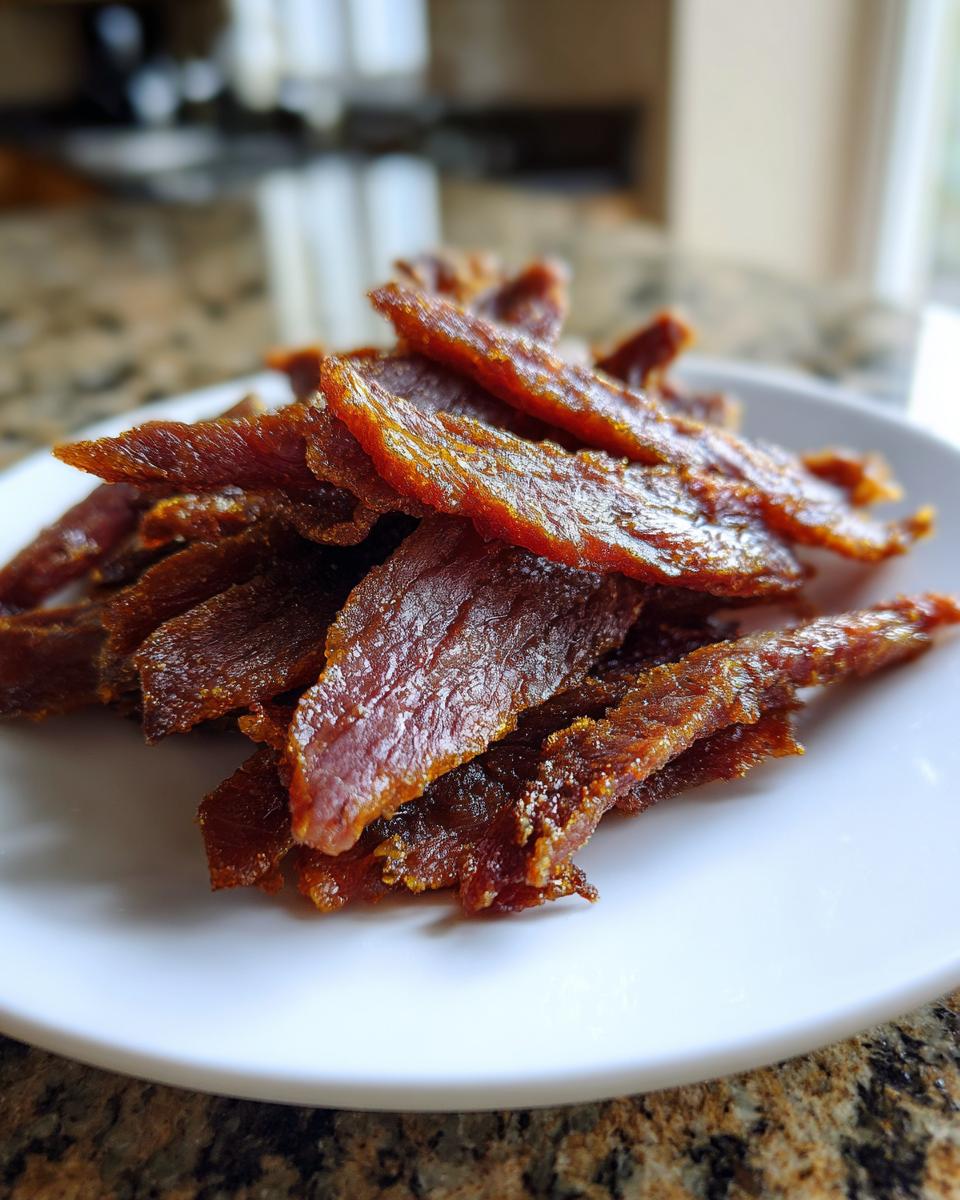
You know that excited little dance your dog does when you pull out their favorite treat? That’s exactly what happens when I make these Beef Liver Strands for Dogs! I’ve been whipping up homemade dog treats for years, and let me tell you – nothing gets tails wagging faster than the smell of beef liver baking in the oven. It’s packed with protein, iron, and essential vitamins that keep your pup healthy and happy. Plus, making them at home means you control exactly what goes in – no mystery ingredients or preservatives. My dogs go absolutely nuts for these, and I bet yours will too!
Why You’ll Love This Beef Liver Strands for Dogs Recipe
Trust me, this recipe is a game-changer for dog treats! Here’s why:
- Nutritious: Beef liver is packed with protein, iron, and vitamins A and B12 – perfect for your pup’s health.
- Easy to Make: Just slice, bake, and cool. It’s that simple!
- Cost-Effective: Much cheaper than store-bought treats, and you get more bang for your buck.
- No Preservatives: You know exactly what’s in it – just pure, wholesome ingredients.
Your dog will love it, and you’ll love how quick and easy it is to make!
Ingredients for Beef Liver Strands for Dogs
Here’s everything you’ll need to whip up these tasty treats for your pup. It’s super simple – just two ingredients and a little love!
- 500g fresh beef liver: Make sure it’s high-quality and fresh. I always look for a deep, rich color and a firm texture. You’ll slice it into thin, even strands for baking.
- 1 tablespoon olive oil: This helps the strands crisp up just a bit in the oven and keeps them from sticking to the baking sheet. Trust me, it’s worth the tiny bit of extra effort!
That’s it! No fancy ingredients or complicated steps. Just pure, wholesome goodness your dog will go crazy for.
How to Make Beef Liver Strands for Dogs
Alright, let’s get cooking! This is where the magic happens. I promise it’s so easy you’ll wonder why you ever bought store-bought treats. Just follow these simple steps, and you’ll have your pup’s new favorite snack in no time.
Step 1: Preparing the Liver
First things first – that beautiful beef liver needs some prep work. I like to pat it dry with paper towels (trust me, this helps with even baking). Then comes the fun part – slicing! Use a sharp knife to cut the liver into thin, uniform strands, about ¼-inch thick. Try to keep them roughly the same size so they bake evenly. Pro tip: if the liver’s slippery, pop it in the freezer for 10-15 minutes first – it’ll firm up and be way easier to slice!
Step 2: Baking the Strands
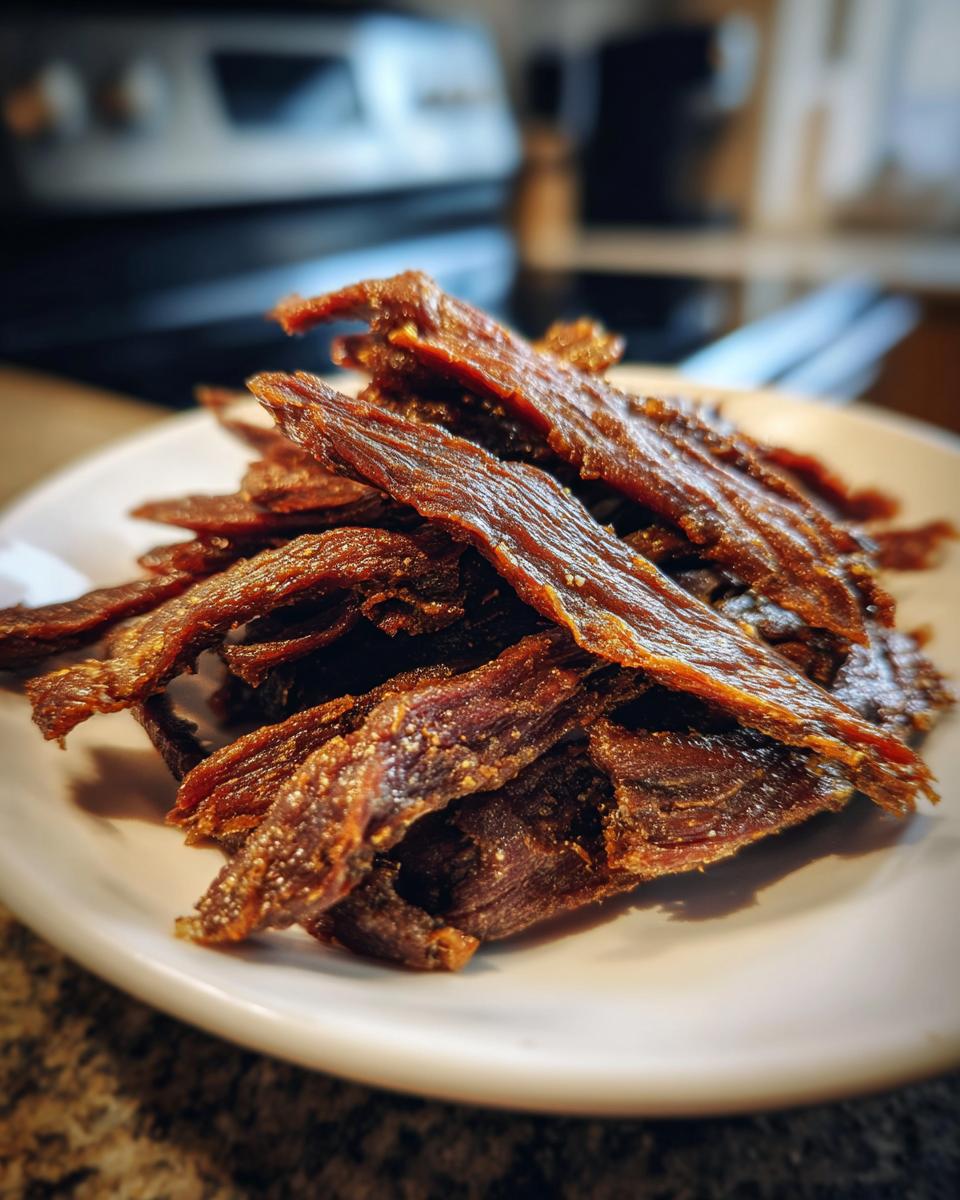
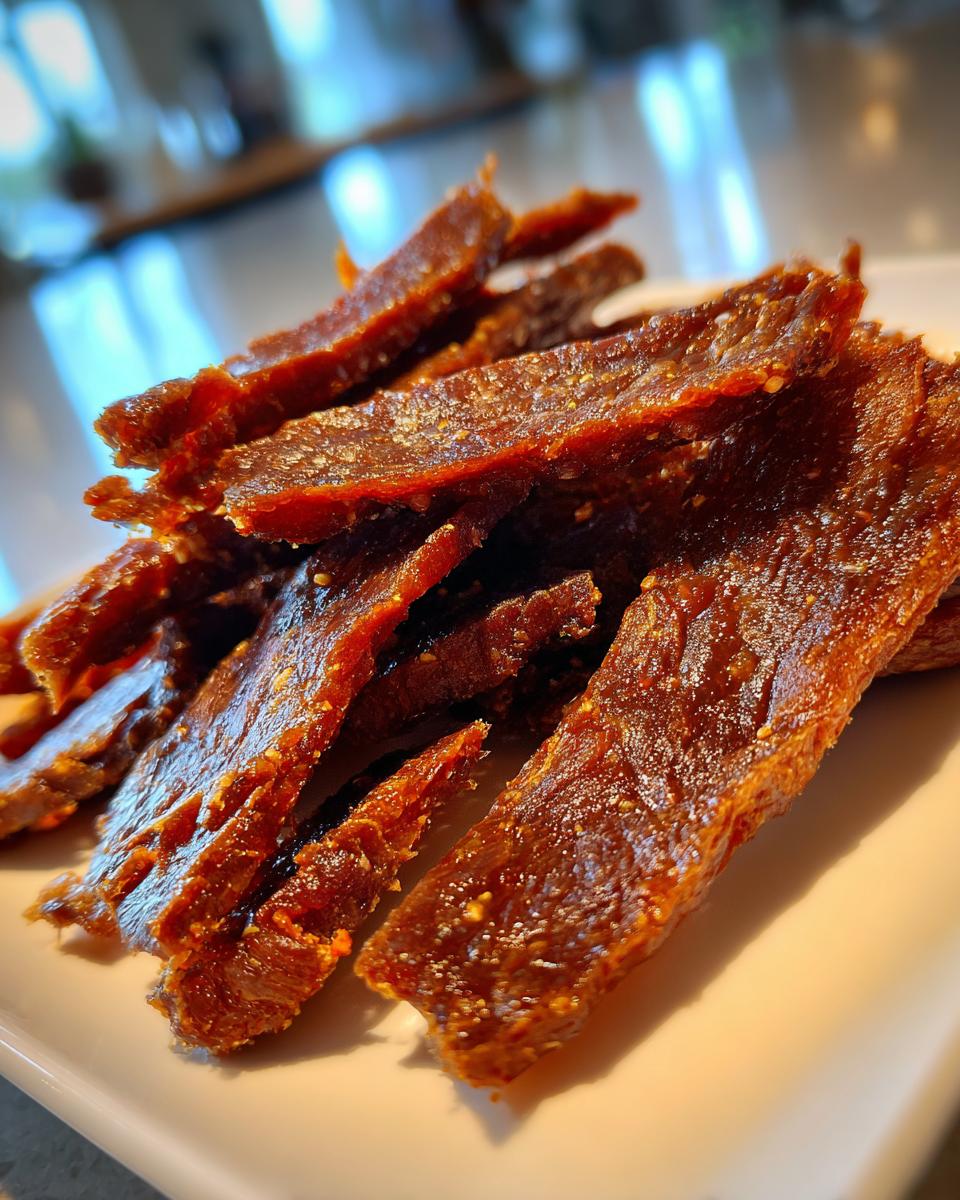
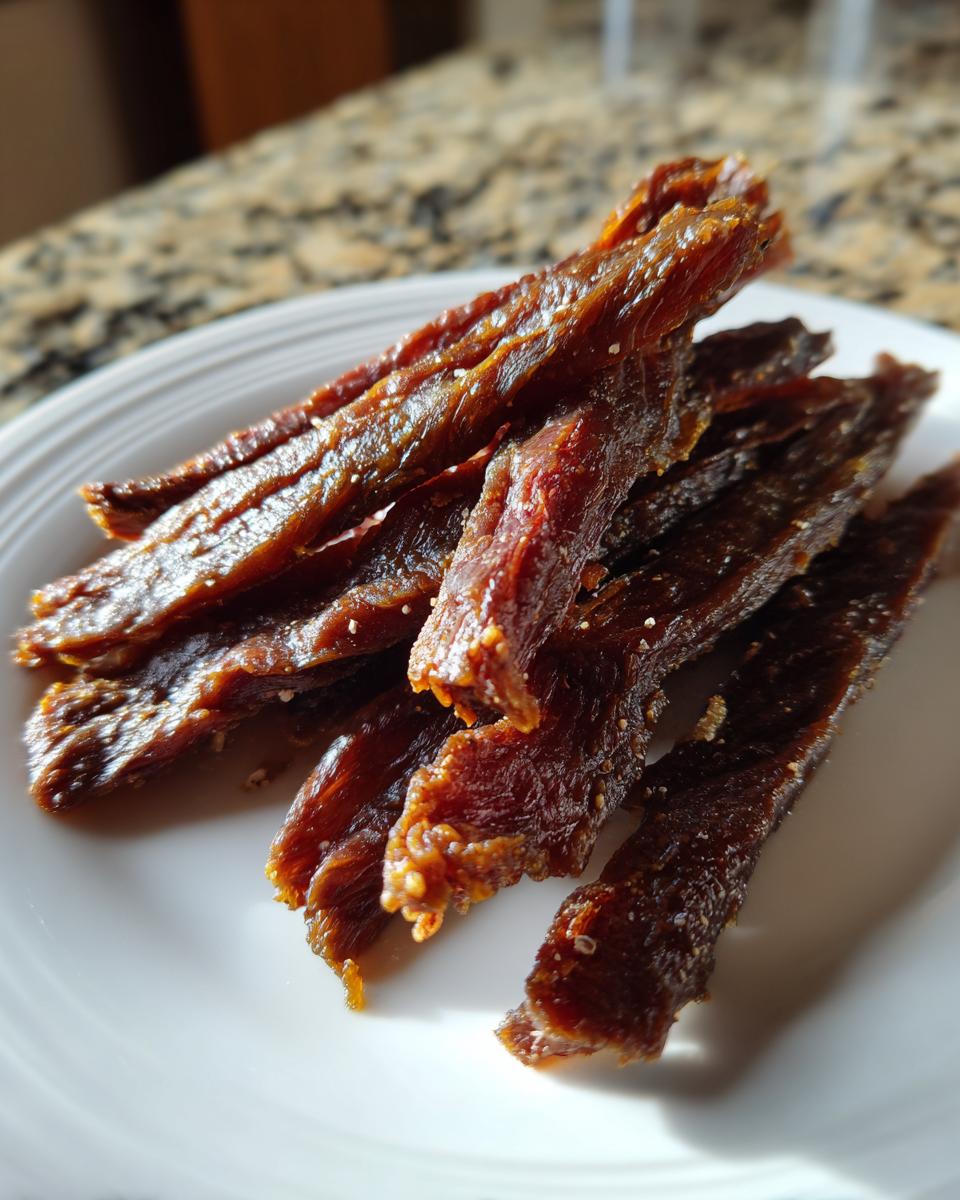
Preheat your oven to 180°C (350°F) and line your baking sheet with parchment paper – this is crucial unless you want to be scraping liver off the pan later (been there, not fun). Arrange your liver strands in a single layer, drizzle with that olive oil, and pop them in the oven. Set your timer for 15 minutes first – you’ll want to check them then. They’re done when they’re cooked through but still slightly springy to the touch. Watch for that perfect deep brown color – that’s when you know they’re ready!
Step 3: Cooling and Storing
Here’s where patience comes in – let them cool completely! I know it’s tempting to give one to your pup right away, but hot liver can be too soft and might upset their tummy. Once cooled, store them in an airtight container in the fridge for up to a week. If you made a big batch (like I always do), they freeze beautifully too – just portion them out and they’ll keep for months!
Tips for Perfect Beef Liver Strands for Dogs
Want pro-level results every time? Here are my tried-and-true tricks:
- Dry it well: Patting the liver dry before slicing helps it bake evenly instead of steaming.
- Check early: Start checking at 15 minutes – overcooked liver gets tough!
- Freeze for slicing: 10 minutes in the freezer makes slippery liver much easier to cut neatly.
- Single layer is key: Crowding the pan leads to uneven cooking. Bake in batches if needed.
Follow these simple tips, and you’ll have wagging tails in no time!
Ingredient Substitutions and Notes
Got coconut oil instead of olive oil? No problem – it works just as well! Just melt it slightly before drizzling. But here’s the big rule: no seasoning – dogs don’t need salt or spices, and some can be harmful. Stick to plain liver and oil for happy, healthy pups!
Nutritional Benefits of Beef Liver Strands for Dogs
Oh boy, where do I start? Beef liver is basically nature’s multivitamin for dogs! Each 50g serving packs about 10g of protein to keep those muscles strong, plus a whopping dose of iron for energy. But wait – there’s more! It’s loaded with vitamin A for healthy eyes and skin, and vitamin B12 for nervous system support. (These numbers are estimates, but trust me – your pup’s getting the good stuff!)
Frequently Asked Questions
Q1. Can I freeze beef liver strands for dogs?
Absolutely! These freeze beautifully. Just portion them into small bags or containers (I use weekly servings) and pop them in the freezer. They’ll keep for 2-3 months. Thaw overnight in the fridge or give your pup a frozen one as a summer cooling treat!
Q2. How often can dogs eat liver treats?
Liver is super nutritious but also rich, so moderation is key. I stick to about 1-2 strands per day for small dogs, 3-4 for larger breeds. Too much can cause tummy upset or vitamin A overload. Always check with your vet if you’re unsure!
Q3. Can I use chicken liver instead of beef liver?
You bet! Chicken liver works just as well – just adjust baking time since it’s usually smaller. The texture might be slightly softer, but my dogs don’t seem to care either way. The important thing is using fresh, high-quality liver.
Q4. Why did my beef liver strands turn out chewy?
Ah, they might have baked a bit too long! Next time, check at 15 minutes – they should be firm but still slightly springy. Also, make sure you sliced them evenly (about ¼-inch thick) so they cook uniformly. Thicker pieces can get tough outside before cooking through.
Q5. Can I make these in a dehydrator instead?
Yes! Dehydrating is actually how I first made these before discovering the oven method. Set your dehydrator to 70°C (160°F) for about 6-8 hours until dry but still pliable. They’ll keep even longer this way – just store in an airtight container.
Serving Suggestions
These beef liver strands are perfect as training rewards or kibble toppers! For small dogs (under 10kg), I give half a strand at a time. Medium pups (10-25kg) get a whole strand, while big dogs can handle two. My secret? Break them into tiny pieces for training – they’ll work extra hard for that liver-y goodness!
Share Your Experience
I’d love to hear how your pup enjoyed these beef liver strands! There’s nothing quite like seeing that happy tail wag when they get their first taste. Did your dog go crazy for them like mine does? Maybe you found a clever variation or storage tip? Drop a comment below – I read every single one (and so do other dog parents looking for real experiences!). If you snapped a photo of your baking adventure or your dog’s happy “more please” face, tag me – I’m always looking for new ideas and adorable pup pics to brighten my day! Check out some of my other dog treat ideas!
Print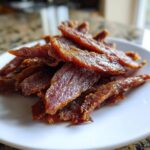
3-Step Beef Liver Strands for Dogs – Irresistible & Nutritious
- Total Time: 30 minutes
- Yield: 500g
- Diet: Low Salt
Description
Beef liver strands are a nutritious and tasty treat for your dog, made from high-quality beef liver.
Ingredients
- 500g fresh beef liver
- 1 tablespoon olive oil
Instructions
- Preheat your oven to 180°C (350°F).
- Cut the beef liver into thin strands.
- Place the strands on a baking sheet lined with parchment paper.
- Drizzle olive oil over the strands.
- Bake for 20 minutes or until fully cooked.
- Let the strands cool before serving to your dog.
Notes
- Store in an airtight container in the refrigerator for up to one week.
- Always consult your vet before introducing new foods to your dog’s diet.
- Prep Time: 10 minutes
- Cook Time: 20 minutes
- Category: Dog Treats
- Method: Baking
- Cuisine: Pet Food